


Whatever is the opposite of social media.
Author: Stephanos Blog
I’d sell shop opening supplies


I’d sell shop opening supplies to all the other bloggers opening shops.
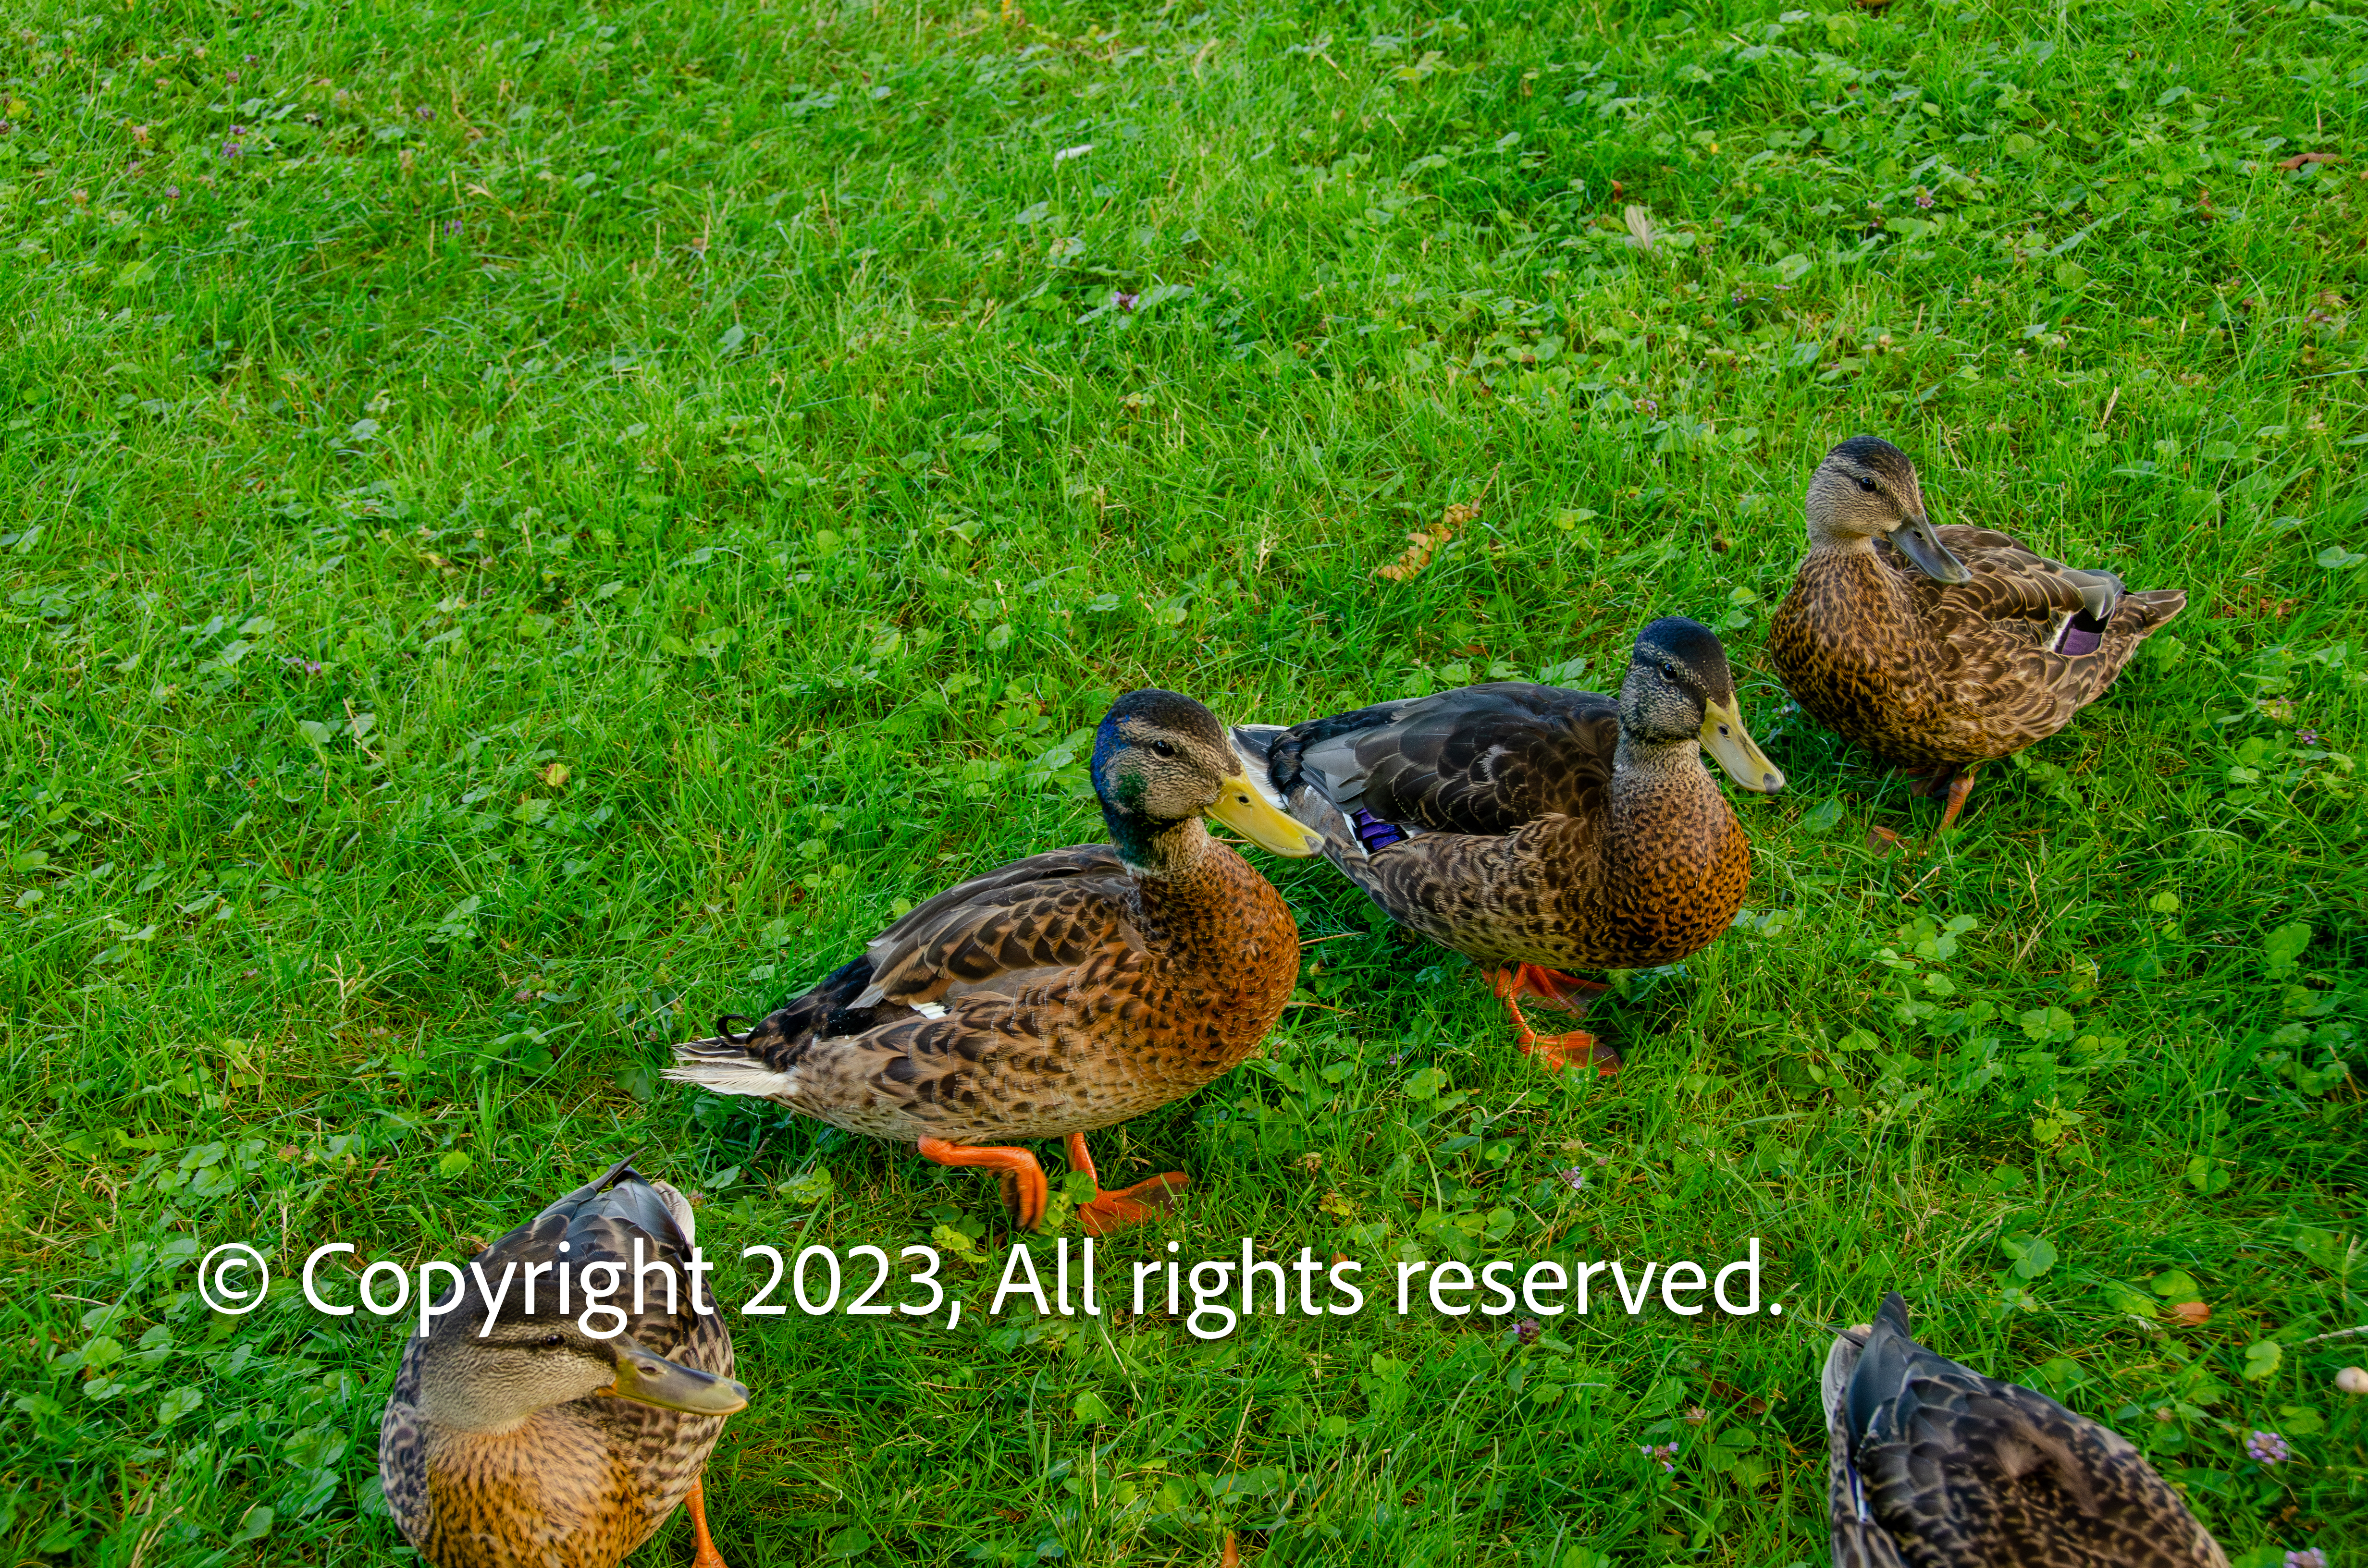
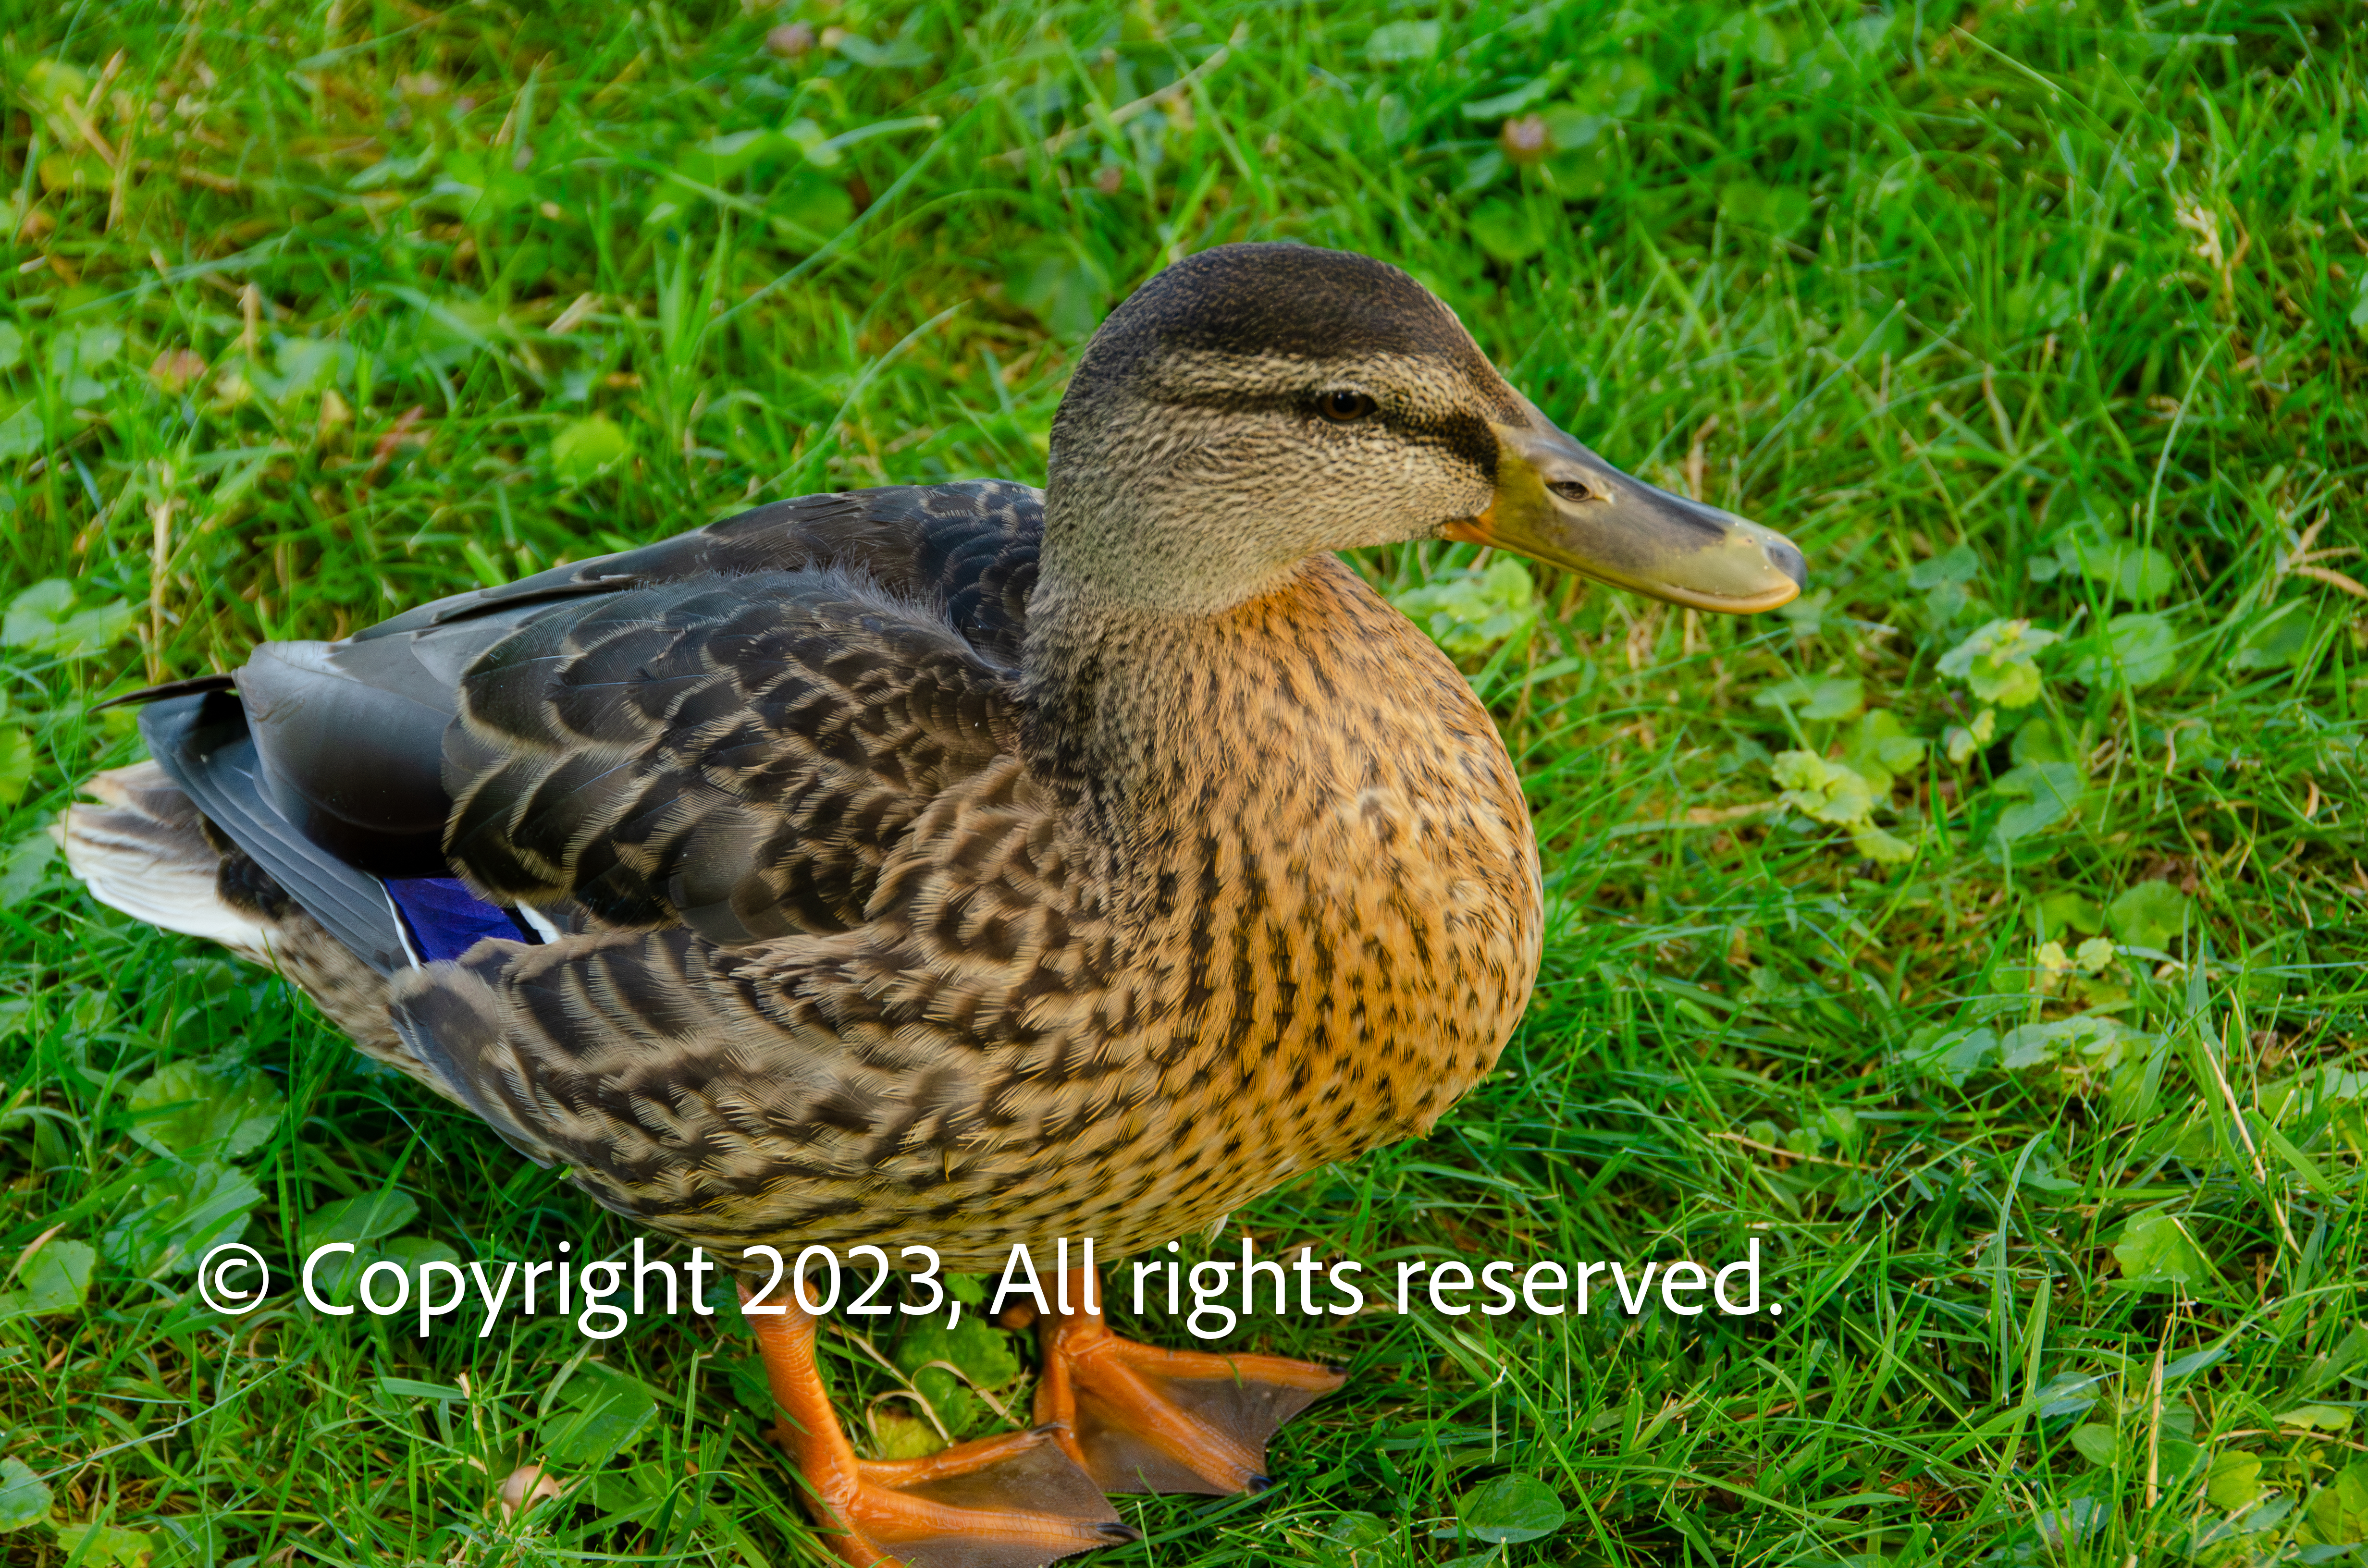
Curious ducks
We went out taking photos yesterday, and on the way back, we passed a little pond that’s on one of the streets we take. From the car I could see a great blue heron standing in the pond.. So it was exciting to have the camera in the car for this opportunity.. I got out of the car and took shots as I came closer to the pond, but Herons, are skittish birds, so it quickly moved away before I got close enough — 200mm is just not enough for skittish birds.
But as I stood on the grass next to the pond, I noticed a small flock of mallard ducks, waddling towards me. How amazing. Obviously they know the routine.. a human stands there, they come over and get fed something. Unfortunately I had no food for them, but I got a bunch of shots and a few good ones (at end of the post).
I started thinking.. Hey I could get a neat low angle video of these ducks milling around if I brought some actual duck food next time… So I looked in to what is good food for a duck and found out… ITS NOT BREAD… So it’s going to take some time to pick a duck feed for them… I’m not really looking forward to handling meal worms… but maybe cracked corn…
So this afternoon, we passed the pond again, and the resident Canada Geese flock was there… for a fleeting moment I thought I could go home and get the camera and come back for some closeup shots of the geese, but I saw the situation… There’s a flock of geese, and one individual goose off to the side with its head straight up… That one is the lookout, and I’ve learned from experience, what a wild goose chase is… That’s where you get too close to a flock and the lookout , wildly chases you around as you yell, “help! help!”
These photos were taken with my D7000, 18-200mm lens set to whatever focal length needed, F11 and 2000 ISO… So you say, ouch that’s a pretty high iso for outdoor photos, but not really, It was in the shade, that lens works really well at F11… but also given ducks are potentially moving targets, I wanted a pretty high shutter speed… So I set the camera to A mode, and turned the ISO up until I had at most 120’th of a second for speed. There was some minor grain in the photos that you could only see with magnification, but Light Room Classic’s new AI denoise works like a charm.

Do Deer Bite?
The reason I ask this, is the other awful hour of the morning I was up taking star photos, I noticed 3 very large looking deer across the street munching on something. Like my neighbors shrubbery, or maybe even the contents of their trash can…
Now it is a well known fact that animals — even humans– can sense when someone is staring at them from behind. And so they rather quickly stopped their munching and turned to look at me.
Now I have no way to judge the expression on a deer’s face, or it’s body language to know how malevolent they might be. So what I did was say, in a calm tone… “GO AWAY”.
It didn’t phase them. So we ignored each other for the rest of my time taking photos.
The next night, my security camera caught them, in the morning after sunrise, roaming on my lawn and inspecting my garden. So now I got a good look at them… One of them had horns, and was larger, the other two smaller ones, had no horns. I have no clue about deer anatomy or development, is this the mother and the baby deer? Or a guy and his two girls? In any case, I definitely do not want to come in close proximity with a horned animal.
Perseid Meteor Shower? I might actually need an umbrella.
Well. As I’ve done for most of my backyard astronomy life, I find myself at the big meteor shower of the summer, the Perseids, and as usual.. the weather prediction is for clouds.
Why… Why do I do astronomy in a light polluted, notoriously cloudy city?
According to the weather, it may clear up a bit in the 2am and 3am hours tonight, which is close enough to the peak time, that I might just give up a nights sleep over the hope.
I’d like to set up the barn door tracker, put the 40mm lens on the camera and aim it at the shower’s radiating point. With the tracker I think I can take 1 minute exposures (if I set my iso carefully) and maybe catch some meteor trails with a nice star field in the background.
The nice thing is with nice bright Jupiter up at that time, I know I’ll be able to use it to get a sharp focus.
This is something I can safely start running with my intervalometer and go inside and take a nap.. Or.. wait… it could just rain all over my camera… Ok, so no sleep for me.
Barn Door Tracker, upgrade and measurement.
I spent a couple days fussing with the barn door tracker.
I built it according to the design, and off the bat it worked very well with my 40mm lens.
But… I wanted to use a much heavier lens, and a more demanding one.. 18-200mm at 200mm.
Ok so the first night out with it I was using probably a bad set up to do the polar alignment. The night with the 40mm lens all I did was use my iPhone compass and bubble level to line it up.. and it performed well. The night I tried the 200mm lens I used version 1 of my polar finder scope setup.
I got star trails, but that was ok, because that night I unexpectedly photographed comet in the field of view while photographing Jupiter.
So this set me off on 2 paths. One to improve the polar alignment setup, and 2 to completely analyse all the sources of error in the barn door tracker as a system, to see if it just can’t do 200mm. I talked to the designer, Peter Qun and he said, yeah.. 200mm is pushing it too hard.. it’s designed for wide angle lenses.
So I went ahead anyways to see if I could squeeze error out of the system. And there are many sources.. the camera is heavy with such a long lens, and the thing is 3D printed, so there could be flexing and twisting.. The gears are 3d printed, so definitely not perfectly round, nor probably having the hub in the center –my printer is great, but realistically…
So I got this idea, put registration targets on the axel and at the end of the moving hinge, make a 16 minute video, and use Blender object tracking and some python code I wrote to read out angles every 30th of a second…
According to that it was running slow.. like 8% slow as far as angle… Then I learned that the stepper used has different versions, with different internal gear ratios… Peter’s code uses a steps per revolution figure that’s based on some people in arduino land taking steppers apart that weren’t meeting spec, and they found that rather than having a 64:1 gear reduction, it was like 63 point some awful fraction.. leading to about 2038 steps per revolution… Since I had to by 5 steppers in the package, I took one of mine apart, counted teeth and found that oops… my version really is 64:1… so I should be using 2048 steps per rev.
Well I updated the code and remeasured, and I got the error down to 3%. Since I had a lot of data, I tried to come up with an overall correction factor for angle, tried that and it did not help…
Being industrious I thought, hey… Why am I trying to make an open loop system be accurate? How about closing the loop by attaching an accelerometer module to the hinge, and read out the actual angle in real time.

Click the photo to check out the magnetometer/accelerometer I used from Amazon, buying it will also support this blog.
Oh.. Oh.. I learned a lot about accelerometer modules… They are totally noisy… But with a lot of filtering it looked like, if I set the tracker up level (not polar aligned) it did a reasonable job of stepping to the right angle at the right time, but no better really than the open loop version. Plus, though I had the math right so that the I could calculate pitch angle from the accelerometer data, even if I tipped the tracker.. I find out that at extreme angles, (such as 43.1, my latitude), the calculation for pitch angle is not reliable. Sources say, it’s only really accurate for small deviation from level.
So scrap the accelerometer, that I still have superglued to my tracker…
But this experience with angles and tilting and measuring, made me realize, that using Blender.. though it may be very accurate in object tracking, is very susceptible to the angle between my camera, and the tracker.. they’d have to be perfectly square to each other to read an accurate angle.. so scrap that idea.
So I resigned to just use it with the 40mm lens — why not? and decided to do a little upgrade.
The way it’s designed, you take apart part of the tracker, manually turn the lead screw to screw the hinge fully closed, and then bolt it down.. Which is fine, you use it for an hour or two, and maybe decide to reset the thing, and manually close it to set it up again… But ever looking to make life convenient I went about adding a micro switch to the end of the hinge. And I wrote code that homes the tracker upon startup or pressing the reset button.

Click on the photo above if you want to buy the same microswitches I did on Amazon, and support my blog at the same time.
Surprisingly — That much is very repeatable… Just like a 3d printer, the code checks to see if it is already homed, if so, move it up from home a bit.. then at a relatively high speed step it down seeking the home position, then move it up just a tad so it’s just off home, and now step it down slowly to finally find a good home spot. Now there is a bit of a risk to this procedure… considering the microswitch holder and it’s pusher are 3d printed parts, if either of them break off in the processes, the tracker will probably self destruct as it crashes down never finding home. I could not think of a fail safe for this… The microswitch is normally open, you seek home until it just closes, a broken off switch will remain open.
but… Repeated measurements have it homing to the same spot within the accuracy of my ability to measure it with my calipers.
Next was to, forget Blender, and just let the system home, track for 4 minutes and stop.. allowing me to make measurements at the home position, and at the 4 minute mark, repeatedly. and also it displays how much it thought it moved the screw… After repeated measurements I get that I’m within .15mm of the desired displacement. I really can’t expect it to do any better than that. My caliper cost me about $20.. I could write a story about how measuring with a cheap digital caliper involves some guesswork.
In the final analysis… I’ll need a clear night, to do the real proof of how well it tracks.
What’s with 357 Batteries.
My caliper takes a 357 battery. When the battery starts to get low, the readout starts flashing… It still reads out an accurate measurement though. When the battery gets real low.. it starts going bonkers as far as it’s zeroing. So you can zero it out and move the slide, and boom, it’s reading like half a meter or something.
So in the past I’d buy 357 batteries online. I won’t name names. And they’re fine but you have to buy 5 or 10 of them at a time. By the time one battery gets low, all the rest are getting old.. by the time you use 5 of them, they’re not lasting long.
So.. the alternative to buying 5 for like $4.99 and waiting a day or two, is to buy just one locally.
Ok, so there must be some kind of rush on these batteries, because all the local drug stores show them out of stock.. but anyway they’re charging like $7.49 if you buy one, and like $11 if you buy three. I found a drug store that claimed to have them in stock, at $14 for 3. Being desperate, I did an online order to pick it up. Got a text 10 minutes later.. sorry, order canceled we don’t have them.
When I check my favorite grocery store’s app they don’t even know what a 357 battery is.. but as we had to go to the store anyways, I stopped by their battery display… OK.. so there’s this A76 battery that looks just like a 357… I look it up online and yes, that’s a substitution for a 357. AND.. they sell them for $3.49! And they have a plentiful stock of them.
So it looks like, yes, I will definitely pay $3.49 for a single battery if I can have it right now, and don’t have to worry about buying so many of them they go stale.
So what’s the game with 357 batteries? If they had them in stock, I’m paying like twice as much, as if I call it an A76?
Better Finder Scope Attachment for the Barn Door Tracker
Well, I’ve designed solid mounts so that I can mount my red dot finder to my camera and to the barn door tracker. What was going wrong in the first version is that there was a lot of wobble in the mounts. My fault, because my design for the shoe for the finder was inherently wobbly. The current attempt is based on a design on thingiverse.com, for basically a type of dovetail rail that the finder scope can attach too. The finder comes with it attached to an adapter to a Synta style shoe. And there’s absolutely no problem with that, except in my setup.. Here is a link if you want to buy one:
As you can see, the finder itself is clamped on to a pedestal that then attaches in to a shoe on a telescope… In my case that pedestal is so high, it limits the positions I can angle my camera to. So on thingiverse.com is a rail meant for my particular tracker that would accept a similar type of finder scope. Not exactly mine, but I used it as a starting point for my design. I ended up with a rail I can bolt to my tracker, has a low profile, and then I can slide the finder on and off and there is no wobble.

I also melded that rail design to a hot shoe mount, printed that, and that fits nice and snug into my camera hot shoe also without wobble.

So the idea, as I think I explained in another blog entry, is that since the finder has alt/az thumbscrews on it that are normally used to align it to a telescope, I couldn’t count on those screws never turning. So without a reference of what 0 alt/0 az is, I saw no way to align it to my barn door tracker. There’s nothing on the tracker with which to sight the north star, to correct the aim of the finder. So my theory goes.. if my hot shoe is square and level to my camera lens axis, I can put the finder onto the camera, align it to the camera while sighting a star in the exact center of the camera frame and then adjust the thumb screws on the finder to line it up– conveniently my camera displays the square central focus spot through the viewfinder so I can really get exact. Once the finder is lined up, I can move it to the barn door tracker, and do a polar alignment.
So that’s step 1 in eliminating star trails. The tracker has to be well aligned to the pole. And I have to wait, looking like a week, for clear skies to try it.
How Grocery Stores Play Games
This may seem off topic for the blog lately, but actually this blog is generally about things to think about.
Well, everyone in the US knows the prices of groceries have gotten crazy. We do most of our shopping at a large regional chain store, and though they have a type of card to get discounts, usually the stuff we buy is not on discount. So it’s been pretty shocking the price we pay for so few items.
We go to another chain store for specific items that our main one doesn’t carry. Yesterday we ended up needing things at both stores, and as I really don’t like shopping, I don’t like going to two stores in a day. So we bought the special items plus some of the items we would have bought at our main store.
Well we used their discount card, they rung up the items, and wow, there was $12 in savings. That is considerable, and I thought, hey it must be cheaper to just shop all our groceries here, why go to the store that never discounts?
When we got home I took the receipt and got myself into a spread sheet, and went about proving to myself the store that discounts is the cheaper store. As I entered in the items and the prices for them at each store I noticed something…. The base price of almost all the items were more expensive at the store that just gave us the big discount. In some cases considerably more.
At the end of it the raw price total from the discounting store came much higher than the other store… by about $12. Yup… it’s a wash… They give you big discounts, but their base prices are higher, so it ends up being about the same.
I don’t like stores that play games like that… and I like that our main store just has lower prices in general on their items… and so we’ll continue only buying a couple special items at the other store.
All 30 Days of the Month


All 30 days of a month make me happy I made it another day. For the months with 31 days I’m extra happy, for February, I’m hopeful.
